Started learning JavaScript? Let's build a project!
Learn JavaScript by Building a Project: A Beginner's Guide

If you are new to JavaScript and want to put your JS skills to the test, building a project is an excellent way to do so. Not only is it a fun way to learn, but it also allows you to apply what you've learned to a real-world scenario. In this article, we will create a simple background color picker. While this may seem easy but it can be challenging if your basic concepts are not clear.
Okay! So first, let’s talk about the prerequisites -
Prerequisites
Basic understanding of HTML and CSS
JS fundamentals - Variables and data types, Functions, Conditional statements, loops, events, and event handlers
Familiarity with text editors (e.g., Visual Studio code)
Plan your project
So now that we're all set, let's discuss how our background color picker is going to look. The very first step in building any project should be its design. But you might ask, "I'm only building this project for practice. Does the design really matter?"
While it may not be necessary to focus heavily on the design at this stage, having an idea of what you're going to build before actually starting to code can make the process easier. You can simply use a pen and paper to sketch out your idea.
Okay, so here's how our project is going to look!
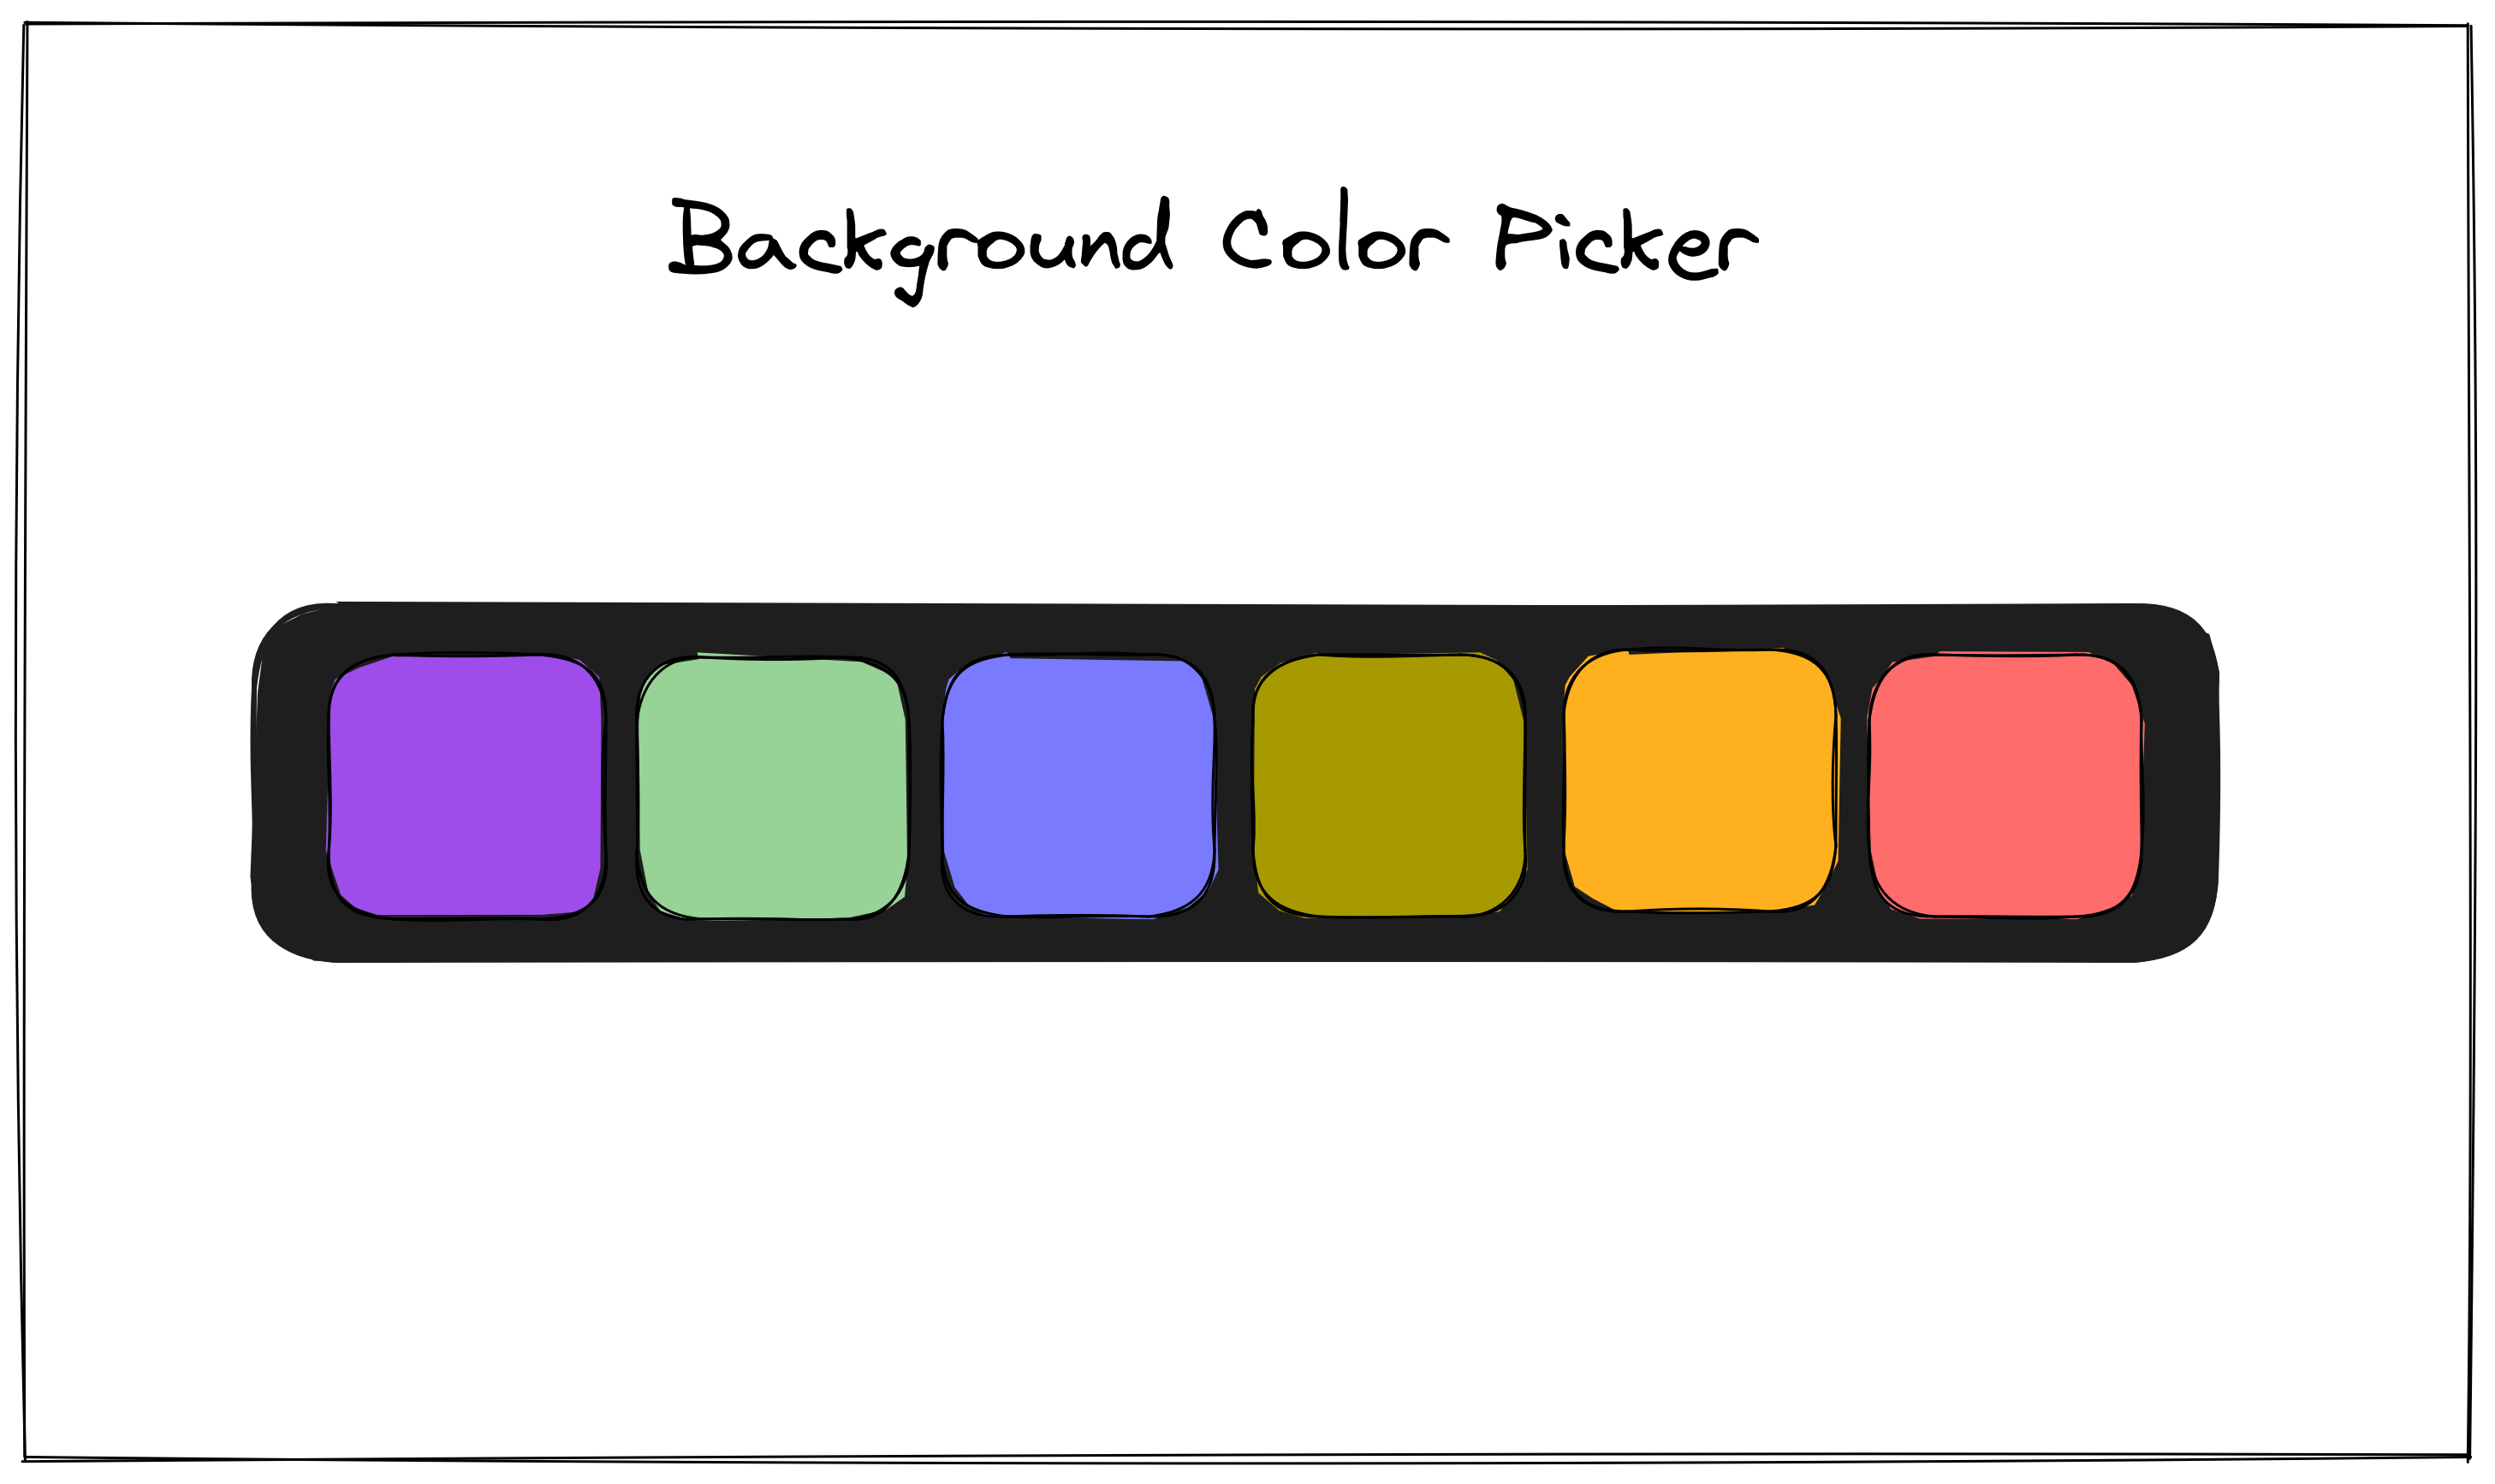
I used excalidraw to create this sketch, as it's beginner-friendly and makes designing sketches and diagrams super easy.
Let's move on to discuss the functionality of our project.
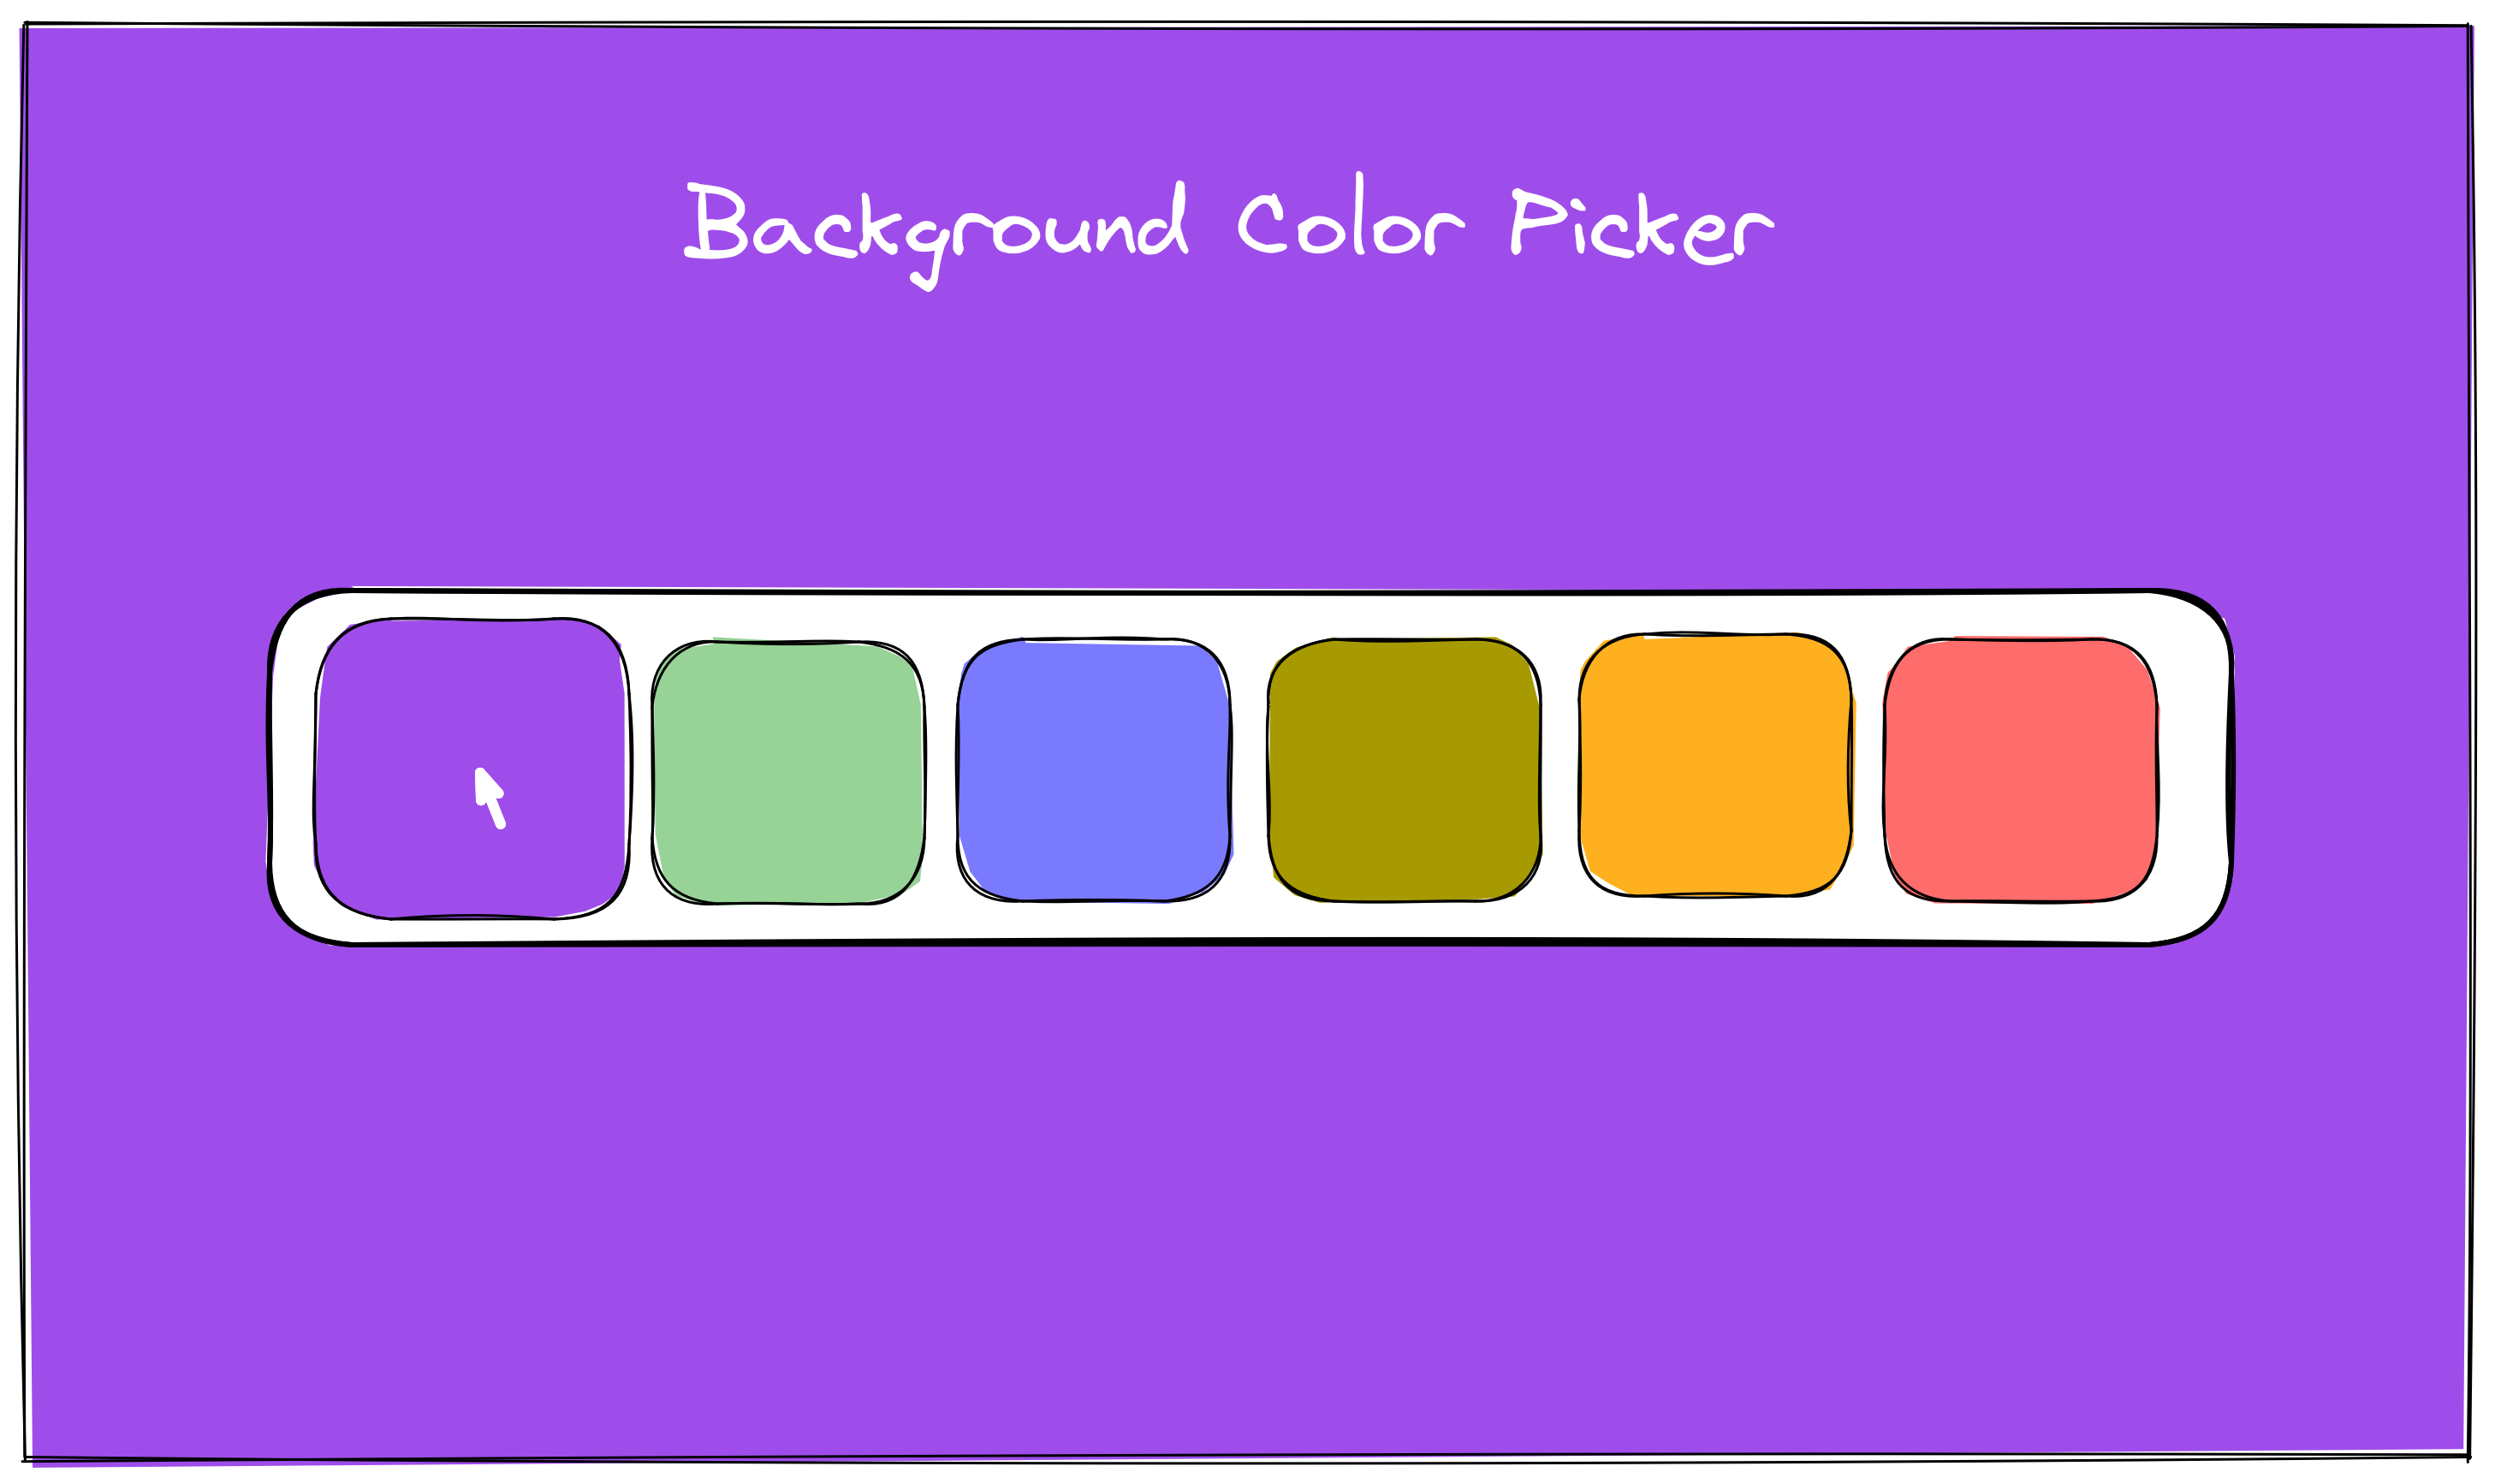
When the user interacts with the color palette by selecting any of the available colors, we want to dynamically implement a few changes.
First, we want the background color of the page to be altered to match the selected color from the palette.
Second, we also want the color of the main heading, which is titled "Background Color Picker", to be changed to white. This will ensure that the heading remains easily readable and stands out against the new background color.
Lastly, we also want the color of the palette to be changed to white as well to maintain consistency and visual balance within the interface.
Alright, let's dive into coding our project!
Create the project's file structure
The very first thing we need to do is create the project's file structure.
Now, although we are building a small project, the easiest approach would be to include all our styling and scripts within the HTML file itself. However, this is not a good practice. Keeping our styling and scripts in separate files makes it easier for us and others to navigate through our code. Therefore, we will be placing our HTML, CSS, and JavaScript into separate files for better organization.
So, simply create a folder called background_color_picker and generate these empty files inside of it.
index.html - for creating the basic structure
style.css - for providing some styling to our project
main.js - for implementing dynamic functionality

Now, I highly recommend that you write all the code by yourself and avoid copying and pasting it. Additionally, what you can do is carefully observe the code for each section, and after understanding the explanation, attempt to write that section of code on your own. If you find yourself stuck, feel free to refer back to the provided code.
HTML
Let's begin by creating the HTML structure. Whenever I write HTML, I aim to break down my design using appropriate HTML tags. So, let's attempt to do the same for our current project.
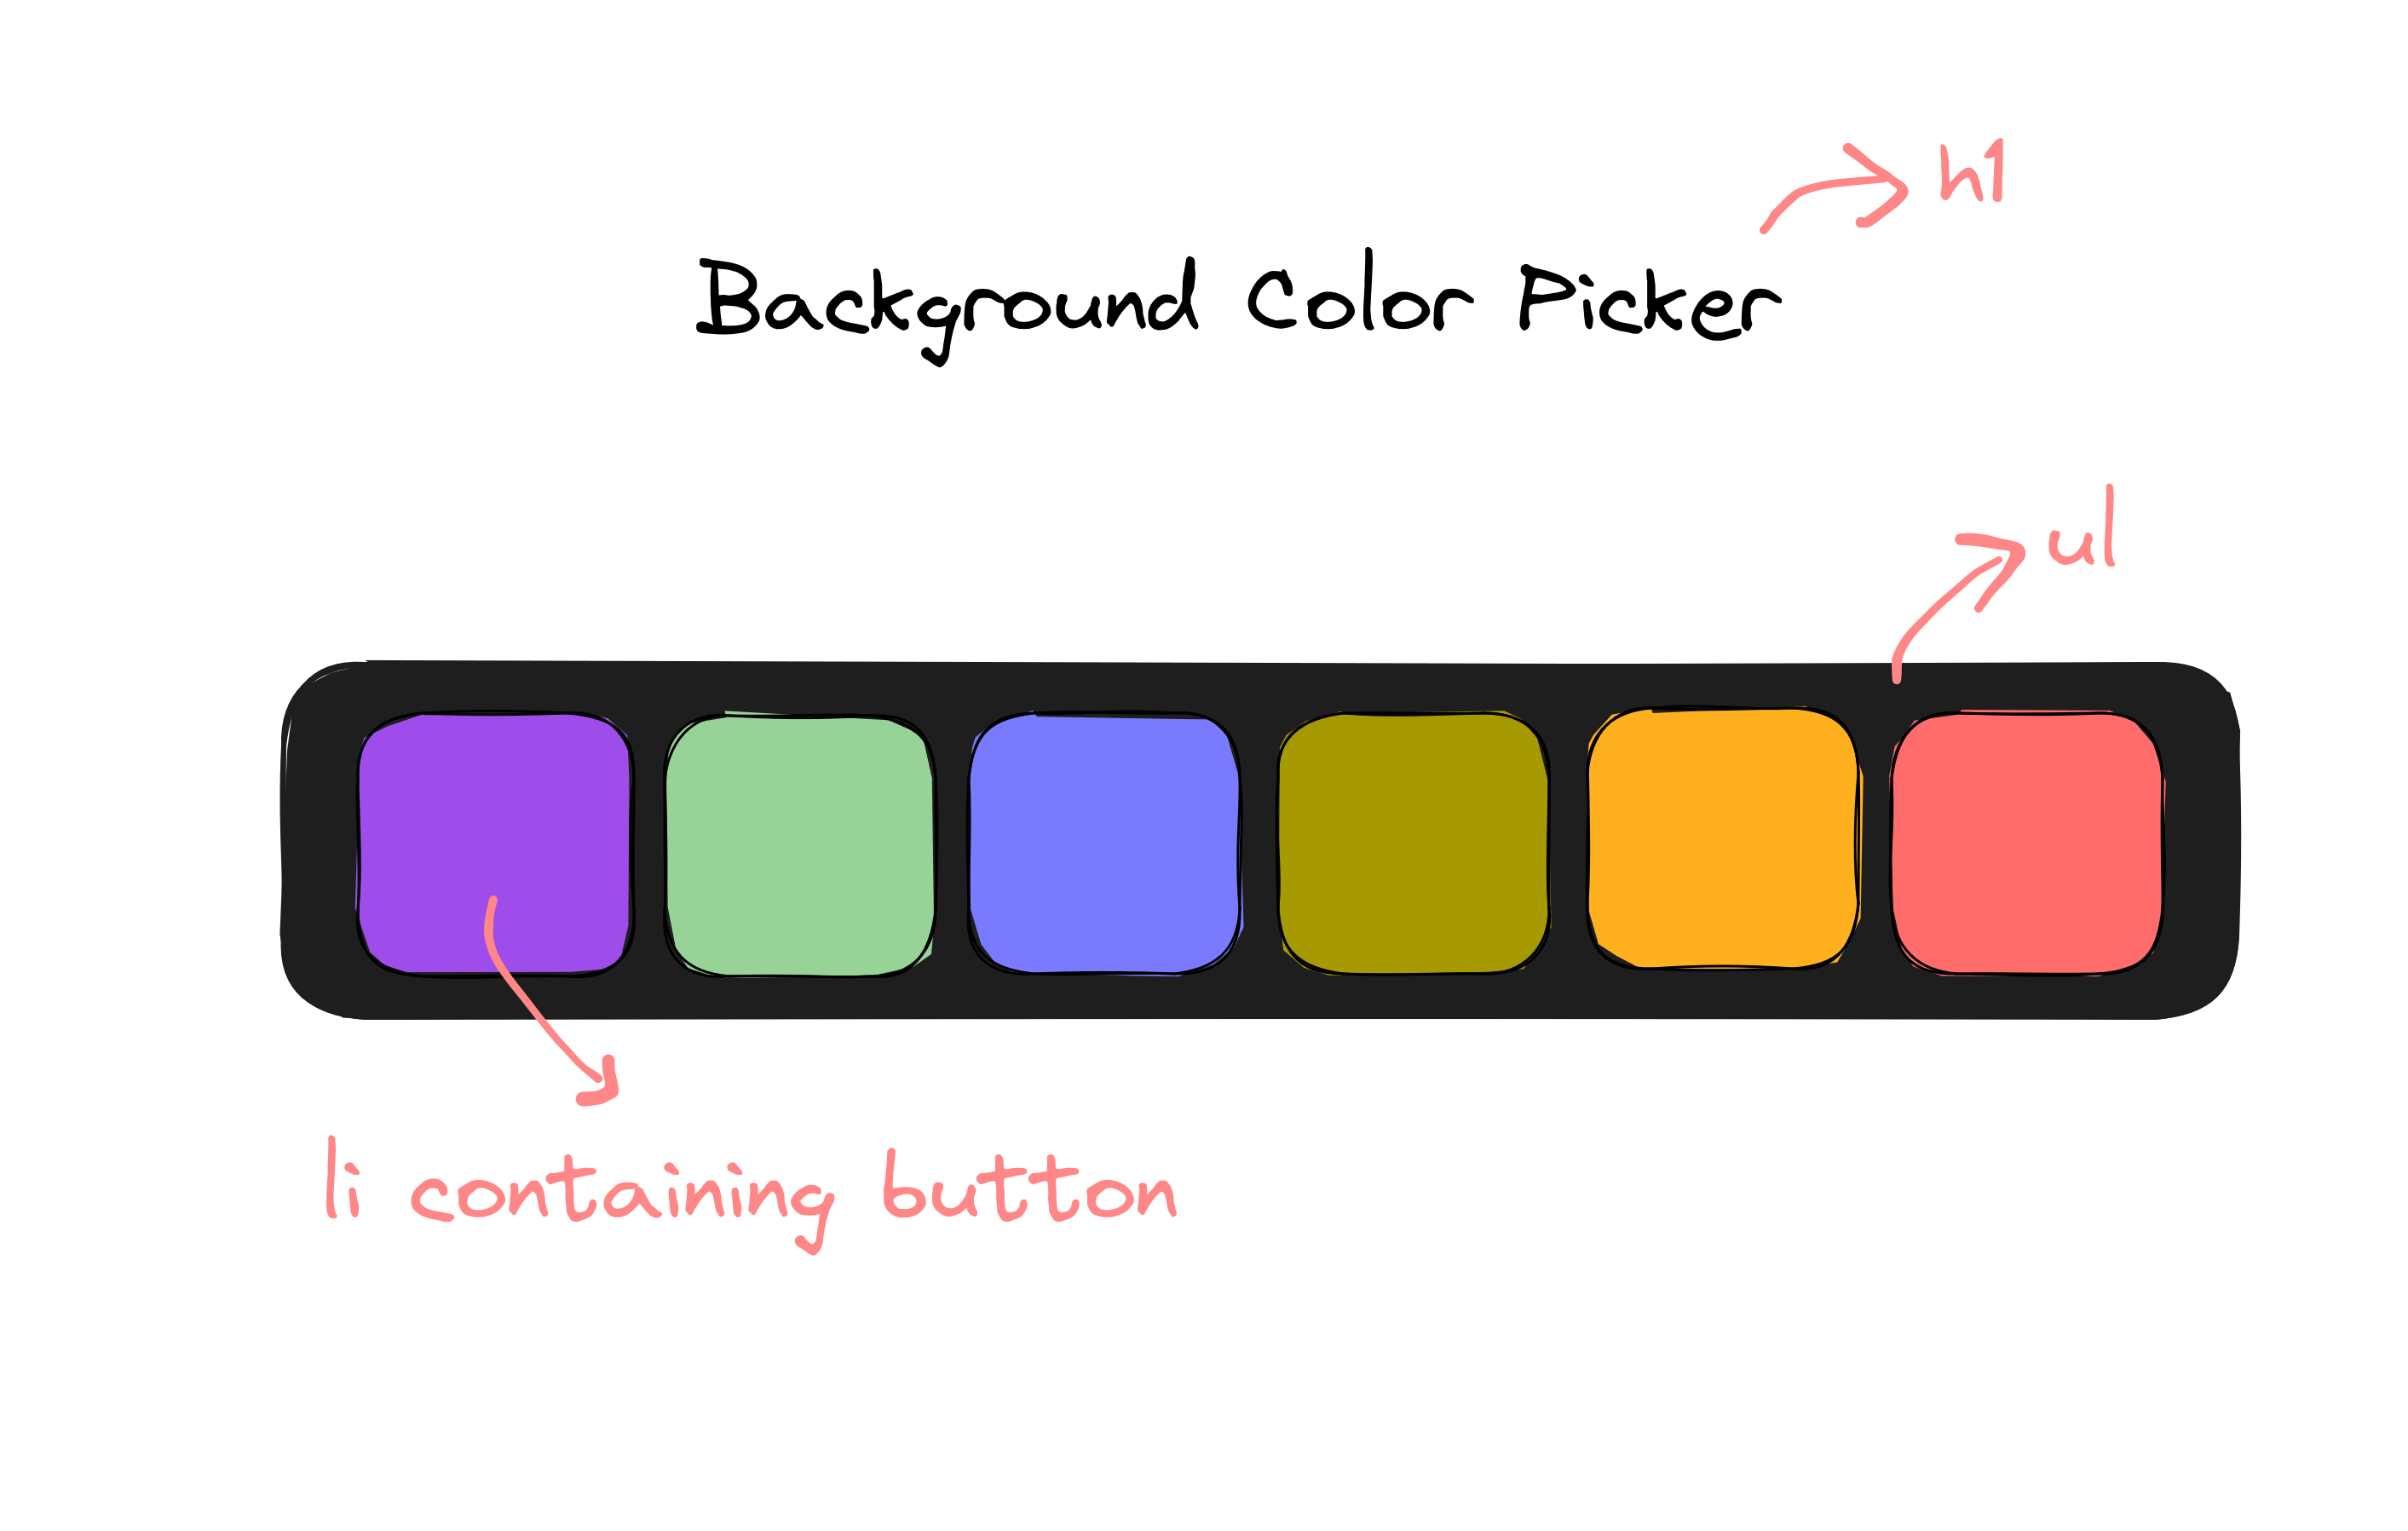
So, As you can see we need a heading, and since it's the main heading we can use <h1>tag. Then, it looks like we have an unordered list that contains a bunch of colors so for that we'll use <ul> tag.
Now that we know which tags we are going to use, let's finally look into our code -
<!DOCTYPE html>
<html lang="en">
    <head>
        <meta charset="utf-8">
        <meta name="viewport" content="width=device-width, initial-scale=1.0">
        <title>Background Color Picker</title>
        <!-- external CSS link -->
        <link rel="stylesheet" href="style.css">
    </head>
    <body>

        <h1>Background Color Picker</h1>

        <ul>
            <li><button id="purple"></button></li>
            <li><button id="green"></button></li>
            <li><button id="blue"></button></li>
            <li><button id="yellow"></button></li>
            <li><button id="orange"></button></li>
            <li><button id="red"></button></li>
        </ul>
        <script type="text/javascript" src="main.js"></script>
    </body>
</html>
Here we mainly have two sections -
The <head> section
Inside our head section, we first have our meta information.
Then we have the title of our project, which appears in the tab of the browser.
Lastly, we have linked our CSS file using the
<link>tag.
The <body> section
Inside our body section, we first have a
<h1>tag that contains the heading for our project.Then as discussed before we have an unordered list, each
<li>contains a button, and when clicked will change the background color.Now, here we could have used a
<div>instead of<ul>but using<ul>seems more relevant as here when someone will go through our code they will have a clear idea that okay this is an unordered list that contains a few buttons and those buttons likely have some functionality.We have also assigned an ID to each of those buttons, which will be useful when we will be adding functionality to them.
Lastly, we linked our JS file right before closing the
<body>tag.
Let's see how our project is looking at this stage -
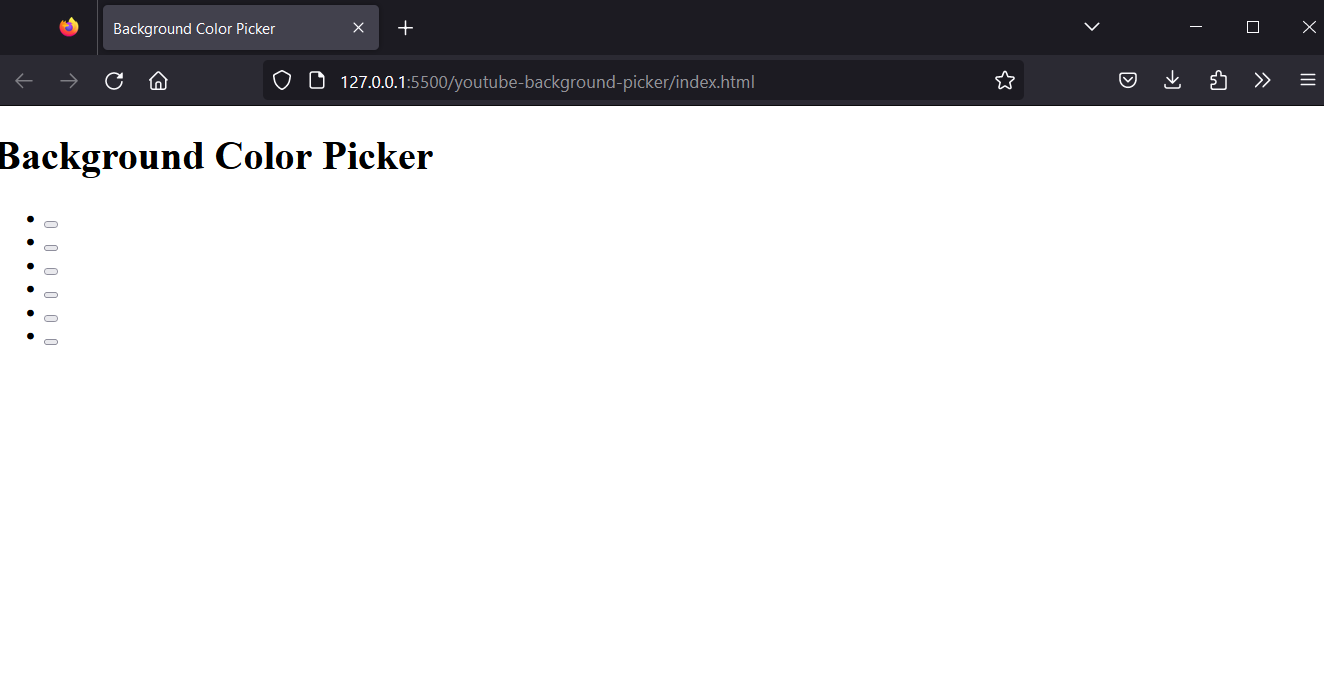
Well, looks like our color picker needs some styling. So, let's jump right in and add some CSS to our project to make it look a bit pretty.
CSS
/* Box Model Hack */
*{
  box-sizing: border-box;
}
/* Layout */
h1{
  width: fit-content;
  font-size: 3.2rem;
  margin: auto;
  margin-top: 2rem;
}

ul{
  background-color: rgb(0, 0, 0);
  width: 75%;
  height: 15rem;
  margin: auto;
  margin-top: 10rem;
  display: flex;
  justify-content: space-evenly;
  align-items: center;
  border-radius: 15px;
  padding: 0;
}

li{
  list-style: none;
  height: 10rem;
  width: 14%;
}

button{
  height: 10rem;
  width: 100%;
  border-radius: 10%;
  border: none;
}

button:hover{
  transform: scale(1.1);
}

#purple{
  background-color: rgb(158, 77, 234);
}

#green{
  background-color: rgb(151, 210, 151);
}

#blue{
  background-color: rgb(122, 122, 255);
}

#yellow{
  background-color: rgb(167, 153, 0);
}

#orange{
  background-color: rgb(255, 176, 31);
}

#red{
  background-color: rgb(255, 108, 108);
}
The CSS for our project is pretty simple and there is not much to explain, we have used Flexbox to provide the layout to our color picker.
Then, we have provided some basic styling to the buttons and have also added a hover effect where the size of the button will slightly increase when we hover over the button.
Additionally, using the IDs assigned earlier to each button, we have given a unique color to each button, indicating the background color.
Let's see how our project is looking now!
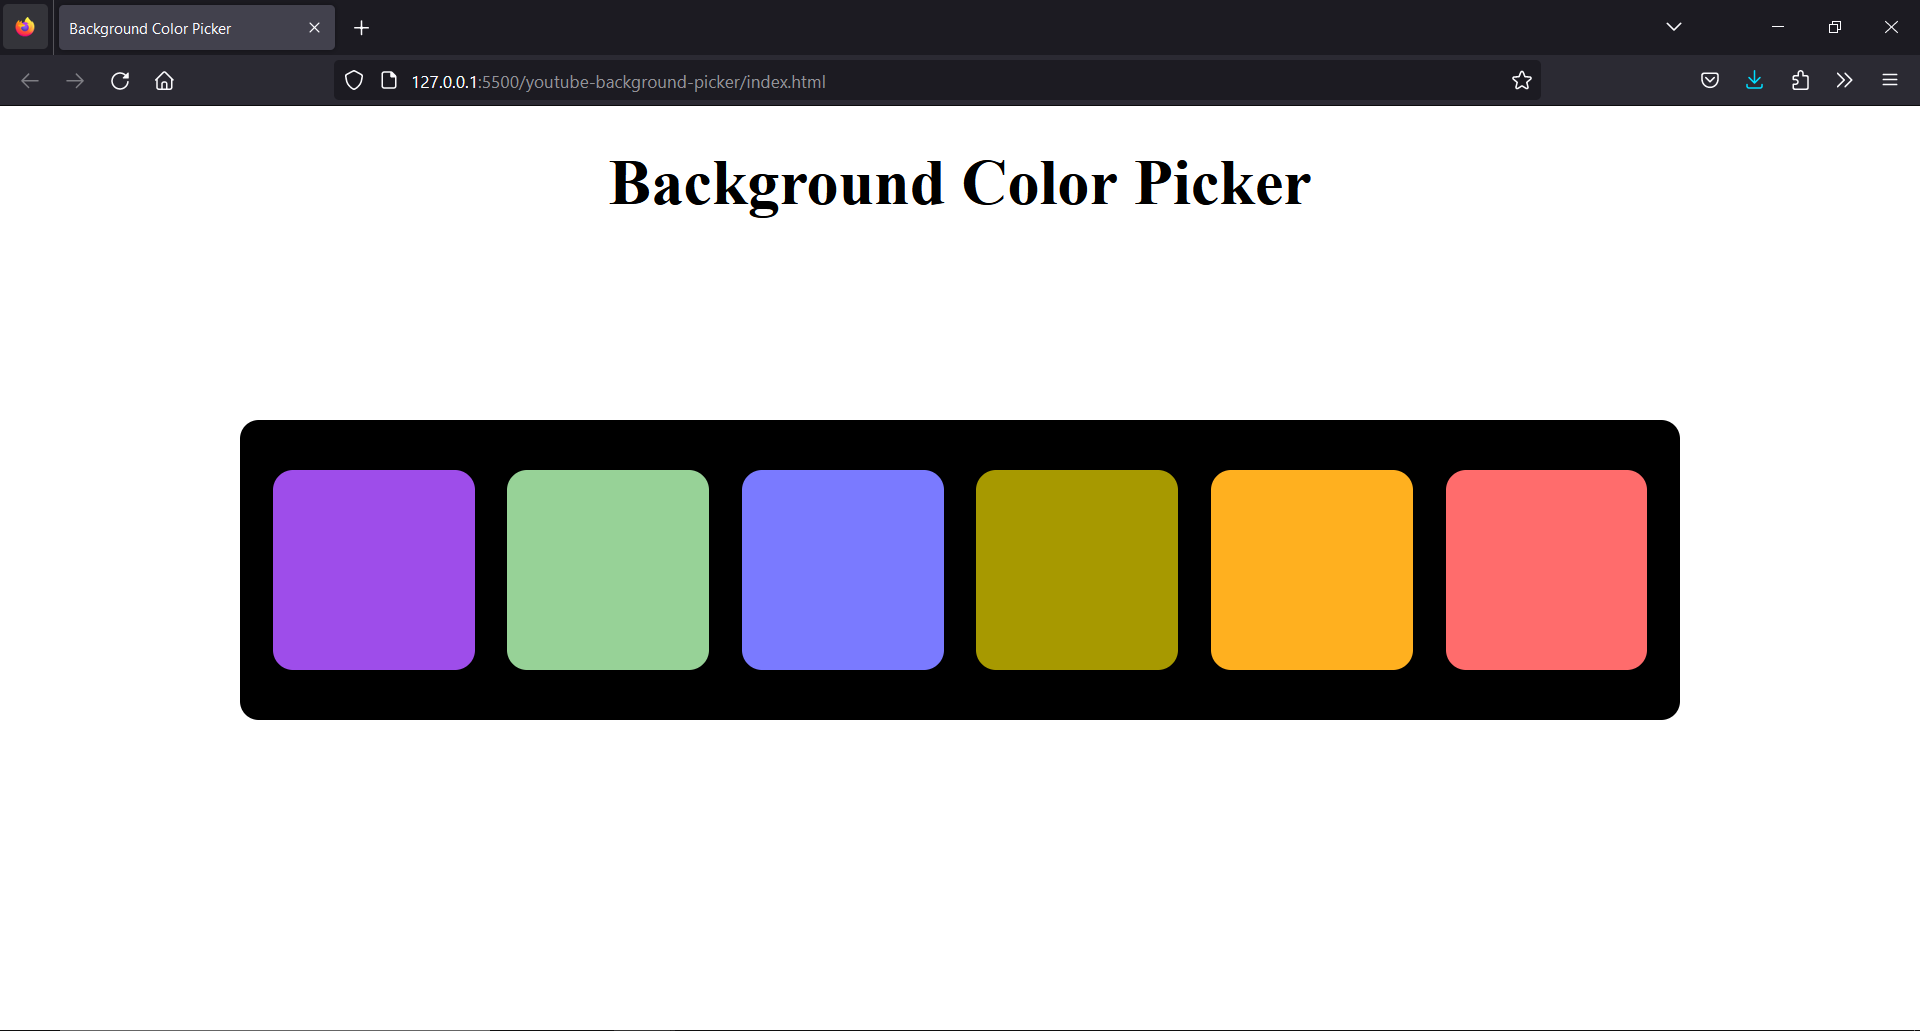
We're making great progress! Our project is now looking quite close to the original design. Let's add some functionality and bring it to life.
Javascript
We have discussed the functionality of our project before-
First, we want the background color of the page to be altered to match the selected color from the palette.
Second, we also want the color of the main heading, which is titled "Background Color Picker", to be changed to white.
Lastly, we also want the color of the palette to be changed to white as well.
Now, let's discuss how we are going to achieve this. There are various approaches we can use to accomplish our goals. Let's discuss two of them and see why we are choosing one over the other.
Approach 1
The first approach we can use is to simply add a click event handler, using the onclick attribute, to each of the buttons. We then define the function to be executed when the button is clicked in our JavaScript file. When triggered, this function will make all the required changes we desire.
But we will not be using this approach, instead, we will be using addEventListener(). Now, you may wonder why? The short answer is that using addEventListener() instead of onclick provides more flexibility and better separation of concerns in Javascript code.
If you recall, we discussed before that we want to keep our HTML, CSS, and JS in separate files for better code readability and organization. Using onclick requires placing Javascript code directly within the HTML markup, hence we will not be using it and go with addEventListener() instead.
Approach 2
const colors = document.querySelectorAll('button');
// console.log(colors[0].id)

const changeColor = e => {
    let colorId = e.target.id;
    // console.log(colorId);

    let color;
    if (colorId === 'purple') {
        color = 'rgb(158, 77, 234)';

    } else if(colorId === 'green') {
        color = 'rgb(151, 210, 151)';

    } else if(colorId === 'blue') {
        color = 'rgb(122, 122, 255)';

    } else if(colorId === 'yellow'){
        color = 'rgb(167, 153, 0)';

    } else if(colorId === 'orange'){
        color = 'rgb(255, 176, 31)';

    } else if(colorId === 'red'){
        color = 'rgb(255, 108, 108)';
    }

    document.querySelector('body').style.backgroundColor = color;
    document.querySelector('h1').style.color = 'white';
    document.querySelector('ul').style.backgroundColor = 'white';
}

colors.forEach((element) => element.addEventListener('click', changeColor));
Let's go through the code step by step -
const colors = document.querySelectorAll('button');
As we know that we want to attach a click event handler to each button in our project. However, if we were to attempt attaching an event handler to each button individually, we would inadvertently increase the number of lines of code, making the overall implementation less efficient.
We can avoid this issue, by employing the 'querySelectorAll' method.
The above line of code selects all the <button> elements in the document and stores them in the colors constant.
const changeColor = e => {
  let colorId = e.target.id;
  let color;
  // Conditional statements to determine the color based on colorId
  // ...
  document.querySelector('body').style.backgroundColor = color;
  document.querySelector('h1').style.color = 'white';
  document.querySelector('ul').style.backgroundColor = 'white';
}
After that, we defined a function named
changeColorusing the arrow function syntaxconst changeColor = e => { ... }, and it takes an event objecteas a parameter. This function is responsible for changing the background color and other styles of the page based on the clicked button.Inside the function, it first retrieves the
idof the clicked button usinge.target.idand assigns it to thecolorIdvariable, here target represents the element that triggered the event. This allows us to identify which button was clicked.Next, we used conditional statements to determine the appropriate color based on the value of
colorId. Depending on thecolorIdvalue, thecolorvariable is assigned a specific RGB color value. For example, ifcolorIdis equal to 'purple', the color value is set torgb(158, 77, 234).After determining the color, we simply select the
<body>,<h1>and<ul>elements usingdocument.querySelector()and applies the corresponding styles.We set the
backgorundColorof the<body>to the selected color.Also, set the <
ul>element and text color of <h1>to 'white'.
colors.forEach((element) => element.addEventListener('click', changeColor));
At last, we finally attach a click event handler to each element in the colors Array(which contains the selected <button> elements). We have used forEach() method to iterate over each element and attach the event handler using addEventListener(). When the button is clicked, the changeColor function will be called to handle the event and change the page styles accordingly.
Okay, let's give our code a whirl and see our project come to life with those colorful buttons!

Yay! Our background color picker is now working like a charm. Enjoy playing with those vibrant colors! And hey, now that you've got the hang of building this project, why not personalize it with some cool features or a fresh new style?
If you decide to add your own twist, feel free to share your project on Twitter and tag me. I'd love to see what you've created!
I had so much fun putting this project, and I hope you enjoyed it just as much! I'm still on a learning journey, so if you spot any mistakes, please don't hesitate to let me know.
You can connect with me on Twitter and LinkedIn.
Alright! That's all for now, and I truly appreciate you taking the time to read this article. I hope you found it helpful! Wishing you an amazing day ahead!

